This article explains how to manage a client vault from end to end: finding the client, opening the vault workflow, uploading documents, adding recipients, and setting delivery. If you follow this sequence, you will avoid most support issues.
Step 1: Find the client and open Manage
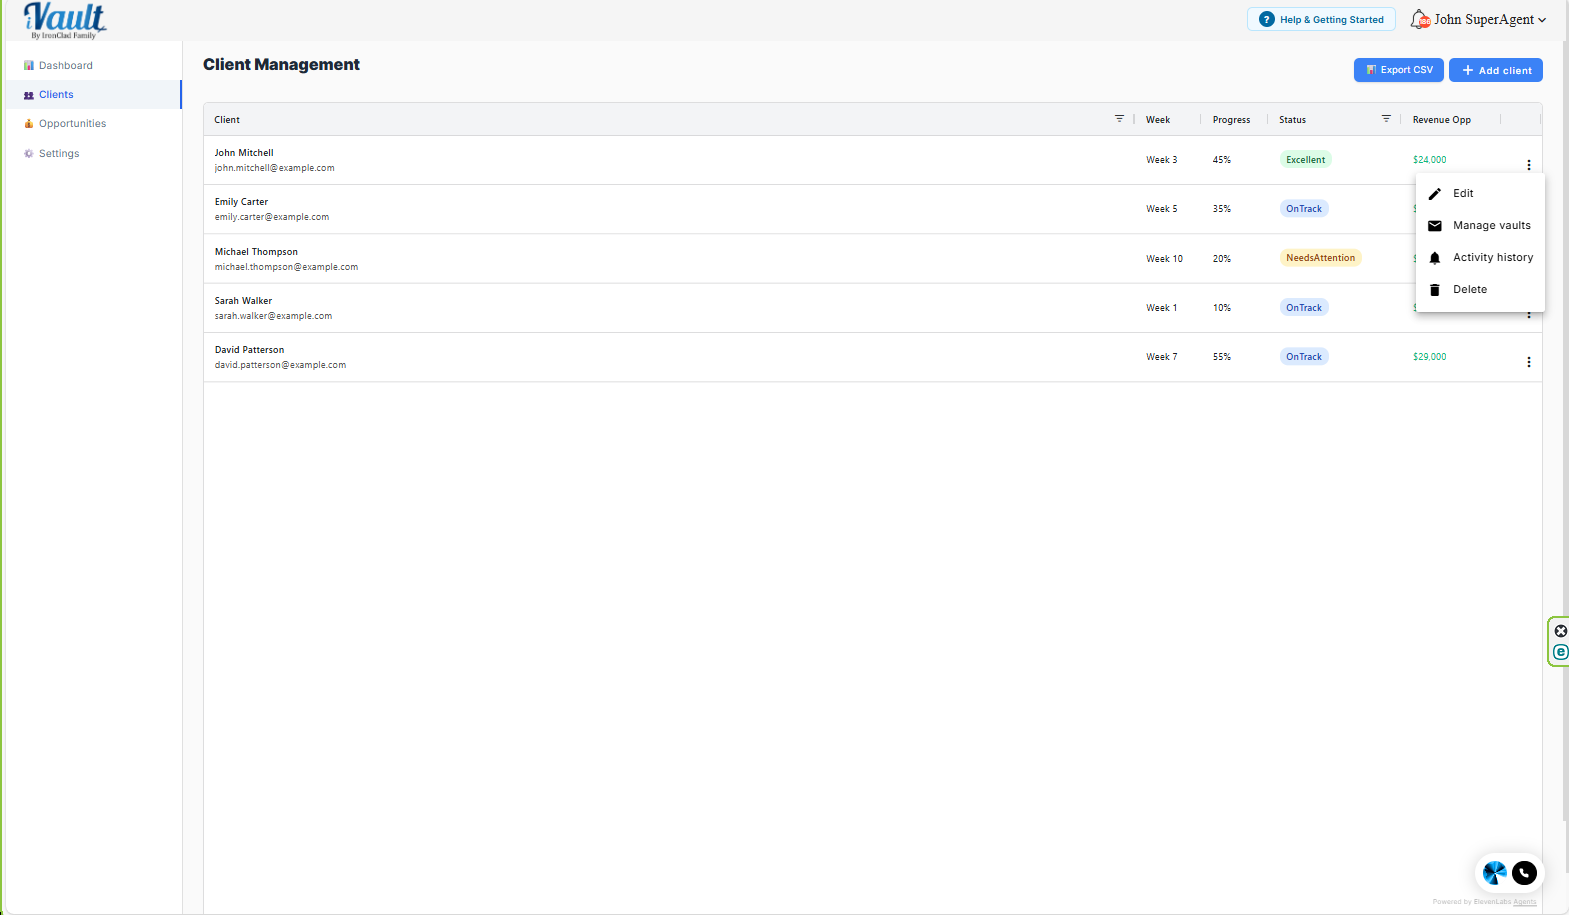
- Go to Clients.
- Find the client in the list.
- Click Manage vaults to open the client vault workspace.

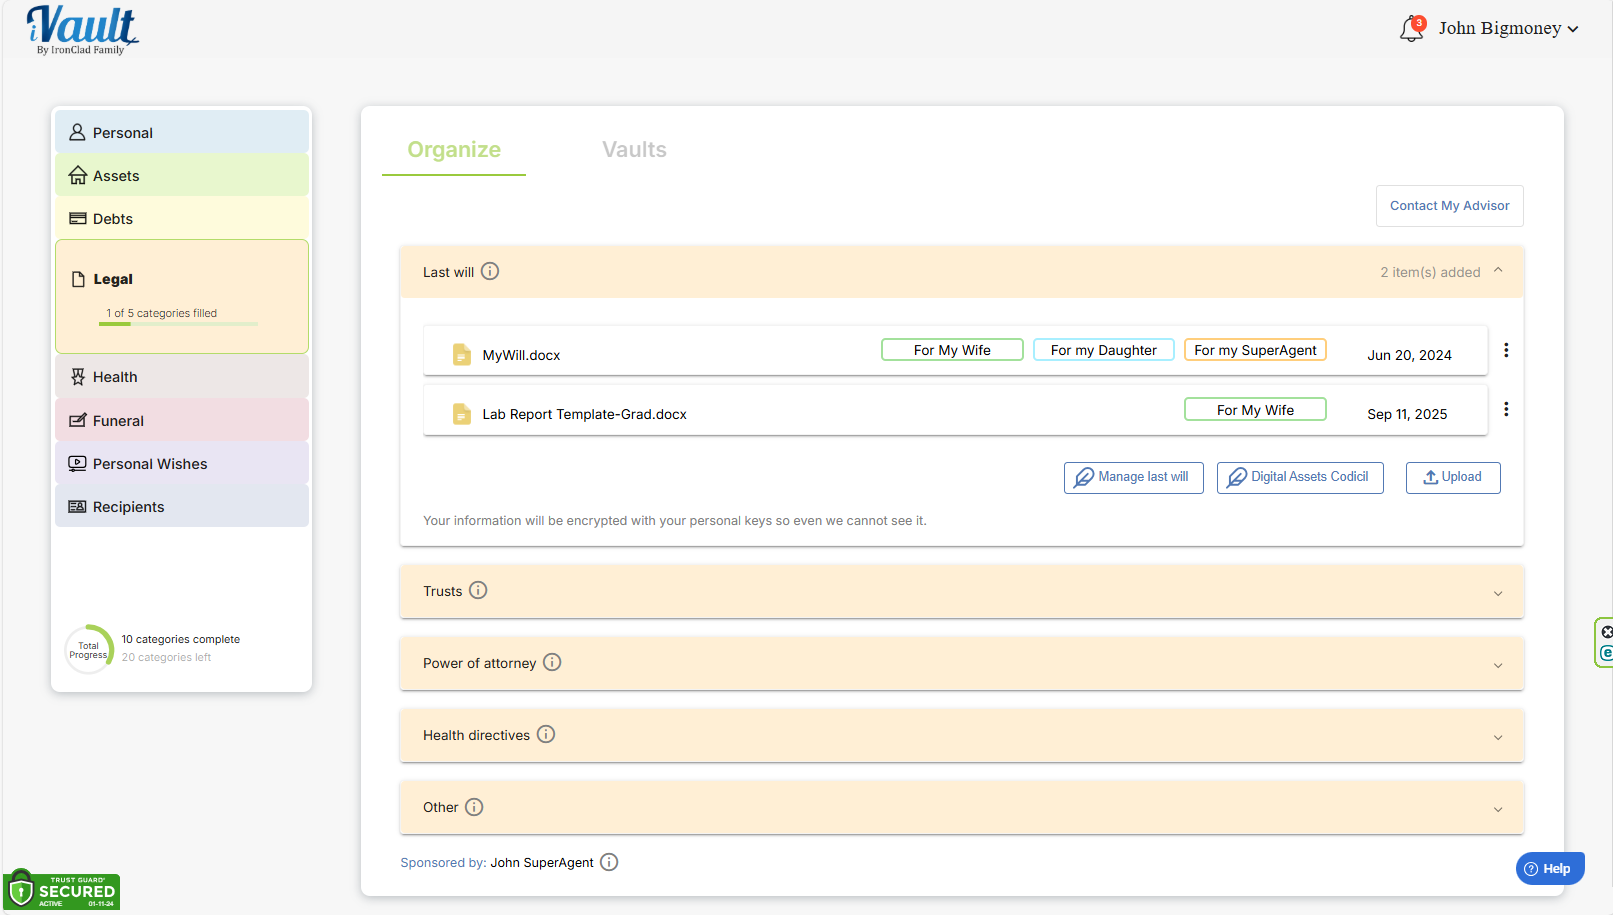
Step 2: Confirm vault progress and what’s missing
Inside the client’s vault workspace, your first job is to identify gaps:
- What documents are missing
- Whether recipients/beneficiaries are listed
- Whether delivery settings are configured
Advisor rule: do not wait for “perfect.” Get the client to “safe and usable,” then improve over time.

Step 3: Choose your service model for this client
Option A: Client-collaborative (client participates)
- Best for: engaged clients, tech-comfortable clients, clients who want control
- Advisor role: guide, review, and fill gaps
Option B: Advisor-managed / concierge (you do most of the work)
- Best for: busy executives, elderly clients, low-tech clients, overwhelmed families
Step 4: Access the Vault Tab
Navigate to the Vault tab in your client dashboard.

2. Create a Vault
Click on Create Vault.
Type a Vault Name (e.g., "Family Finances").
Choose a Color Code for easy identification.
Click OK to save.

3. Configure their Vault
After creating their vault, click on the vault name to open its settings.
On the left pane, you will see two configuration options:
Delivery Conditions
Recipients

4. Set Delivery Conditions
Click on Delivery Conditions.
Choose how the vault contents will be delivered to your recipients. You have three options:
Death or Incapacitation of the vault owner.
Specific Date: Useful for milestones like a child's 18th birthday.
Manual Delivery: Use the Deliver Now button when ready.
Note: Once a vault is delivered, it cannot be edited.


5. Assign Recipients
Click on Recipients.
Select the individuals who will receive the vault contents.
Recipients must first be created in the Planning Tab.
For detailed steps on adding recipients, refer to this article.

6. Preview the Delivery Link
Click on Preview Delivery Link to see how the vault contents will appear to your recipients.
This allows you to confirm what your loved ones will see when the vault is delivered.
The Preview Only Option lets recipients view limited information via the Delivery Link before the vault is officially delivered.
This ensures your recipients can prepare without accessing full details ahead of time.
___________________________________________________________________________
Related Articles:
Was this article helpful?
That’s Great!
Thank you for your feedback
Sorry! We couldn't be helpful
Thank you for your feedback
Feedback sent
We appreciate your effort and will try to fix the article